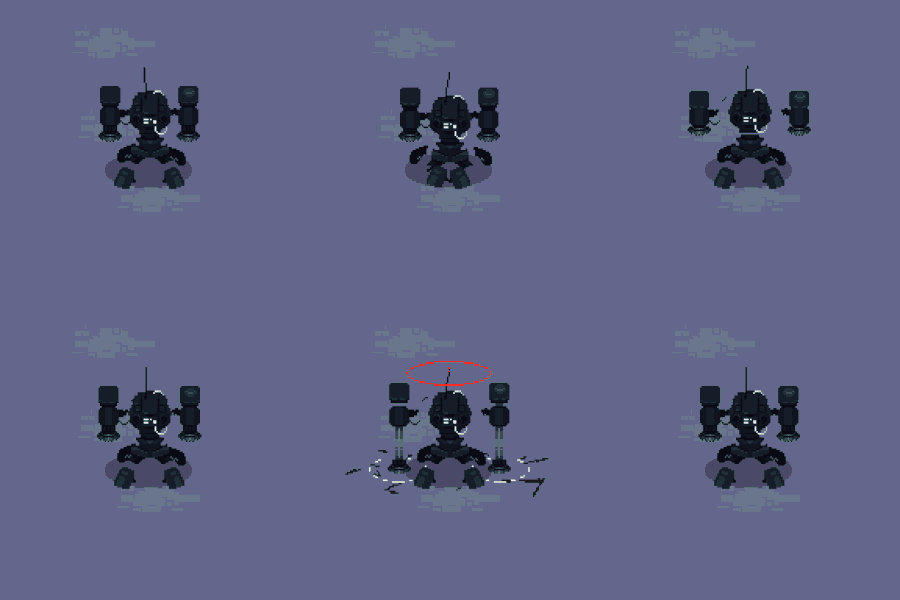
Colossal Pounding Unit
The Colossal Pounding Unit (CPU) is the first boss the player encounters and is the only boss available to fight in the demo, appearing in The Peak. The boss theme for the CPU is Forced Shutdown. It features a beefy health pool and a unique Swap Inhibitor that is reduced on collisions and damage by the player. Swapping into it during the window this inhibitor breaks grants you access to two abilities:
 POUND: The CPU slings a punch with its massive arms, instantly killing any bot hit and granting POUNDED.
 PRODUCE: The CPU slams the ground, summoning a pillar with an enemy on top of it.
After 10 seconds in the boss your Swap Bar will drain rapidly in a fashion not-dissimilar to holding the Swap Button down for too long.
Unlike other Hosts, the CPU features multiple other abilities in its combat encounter not accessible via swapping, which serve to make it a Boss encounter:
- LASER: The CPU charges and fires a laser around the area, destroying pillars and any bot caught in the devastation.
- COLLIDE: The CPU flashes red for a moment before launching itself at the player, it takes 2x more damage in this state and can collide with pillars, severely damaging both it and its Swap Inhibitor.
- SHOCKWAVE: The CPU pounds into the ground causing both a small-AOE shockwave around it and a cascading shockwave towards the player.
- HOMING POUND: The non-Host version of POUND, tracking the player and flashing red when about to strike. Firing when it flashes prevents the POUND from going off.
- PRODUCE: The CPU slams the ground up to two times, summoning pillars with a bot on top of it. Very similar to the ability but more restricted.
- There is a ⅓ chance for the CPU to spawn two Steeltoes, one on each side.
- There is a ⅓ chance for the CPU to spawn two Routers, one in the bottom-left and one in the bottom right.
- There is a ⅓ chance for the CPU to spawn an Aphid and a Deadlift, with two possible placements:
- Aphid bottom-left, Deadlift top-right.
- Aphid top-left, Deadlift bottom-right.
Boss Tips
- Keep your distance, Shockwave and Produce both create AOE damage around it and shockwaves that can heavily injure your current host or even knock it back to where you can't see anything to swap into.
- Deadlift can struggle with this especially, utilize the Debris left behind by towers as juggle ammo for Deadlift.
- When the boss begins to flash for Collide, either get behind a pillar (watch out for the AOE shockwaves!) or move parallel to it at a fair distance to get out of the way.
- Prep a strong burst at it if you know you're safe behind a pillar to take advantage of its damage vulnerability.
- Timing Aphid's Self-Destruct can let you get off some incredible damage in this vulnerable state.
- The Laser is able to be juked out in a couple of ways, if you're not able to outrun it go to the opposite side of the boss, it will always follow the direction you are at when it the wind-up animation starts. If unable to escape by pure mobility and as a last-resort, try to stand at the edge of the arena, there's a chance it can track to the edge of the arena but this is less common than not.
- Clear out bots created by Produce sooner rather than later, the boss will spawn more enemies regardless of the number of enemies or Pillars onscreen.
- Clear out debris created by pillars if you aren't utilizing Deadlift often in the fight, it can eat bullets and impede your movement.
- It takes much more damage from bullets and grenades than it does by melee and juggling.
- Utilize the vulnerable Boss Swap to farm points, Local Juice, or damage on the boss via the enemies created by Produce. Just make sure to have a host to jump out to when the 10 seconds are up.
- Be aware that the CPU is immune to the stun effects of the Frayed Wires and Resonance upgrades, always be on your guard.
- While the CPU is normally effectively immune to knockback effects, a Deadlift with Yorikiri can pull the CPU to it.
- This is usually very dangerous to do, but if you catch the CPU as it is moving towards the center of the arena in order to use Produce, you can perform a full grapple launch combo on the CPU with relative safety.
Trivia
- The name Colossal Pounding Unit, acronym CPU, is a reference to the Central Processing Unit, a key part of computer systems.
- The CPU is referred to as "Indigo" when talking to the fake CPU in the next level.
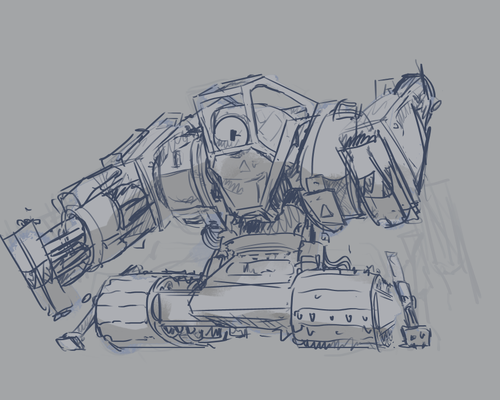
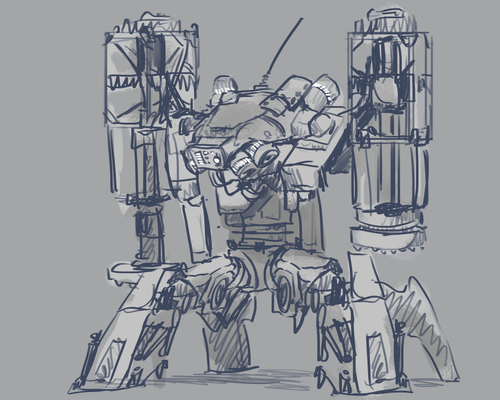
- The Indev name for CPU was Giga-Fracker.
 The original "Giga-Fracker" sprite for the CPU.


